On a chemical processing skid, a line of Schedule 80 CPVC fittings failed at the solvent-cement joints less than two weeks after start-up. The specification was correct — 1-inch Schedule 80 CPVC at 8 bar and 70 °C — but the installation was not. Every joint had been assembled by pushing dry, unprimed pipe into the sockets, so the bond never actually formed.
Schedule 80 CPVC fittings are selected for their pressure capacity, impact resistance, and chemical compatibility. Yet in real-world service, most joint failures trace back to incomplete surface preparation, premature handling, or ignored thermal expansion. Correct installation follows a disciplined sequence: verify the socket fit, cut and deburr properly, apply primer and cement correctly, hold the joint during setting, wait through the cure time, and design for expansion in the support plan.
Before You Start: Inspection, Handling, and Fit Verification
Verify the socket fit and wall thickness
Schedule 80 CPVC dimensions are based on ASTM D2467, which defines socket depths and internal diameters by nominal size. For a 1-inch socket, the effective insertion depth is typically about 29 mm (1.14 in). If the pipe bottoms out before reaching that depth, either the pipe or the fitting is out of specification and should be rejected. Out-of-round pipe is equally dangerous: it prevents full surface contact with the socket wall and creates a thin bond line that will leak under pressure.
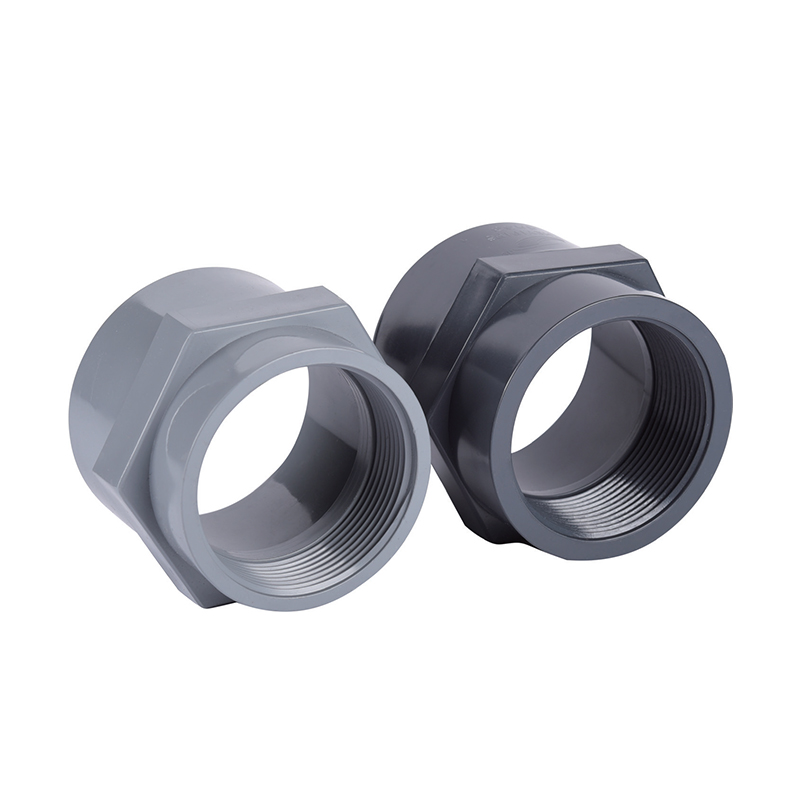
Before the first cut, dry-fit a sample joint using the actual pipe and fitting. A correctly sized slip fit should advance about 70–80% of the socket depth with hand pressure. For new assemblies, standardize on fittings from a single manufacturer so socket depths stay consistent. A heavy-wall CPVC coupler is a common choice for straight runs and repair tie-ins, but only if its socket bore matches the pipe OD tolerance.
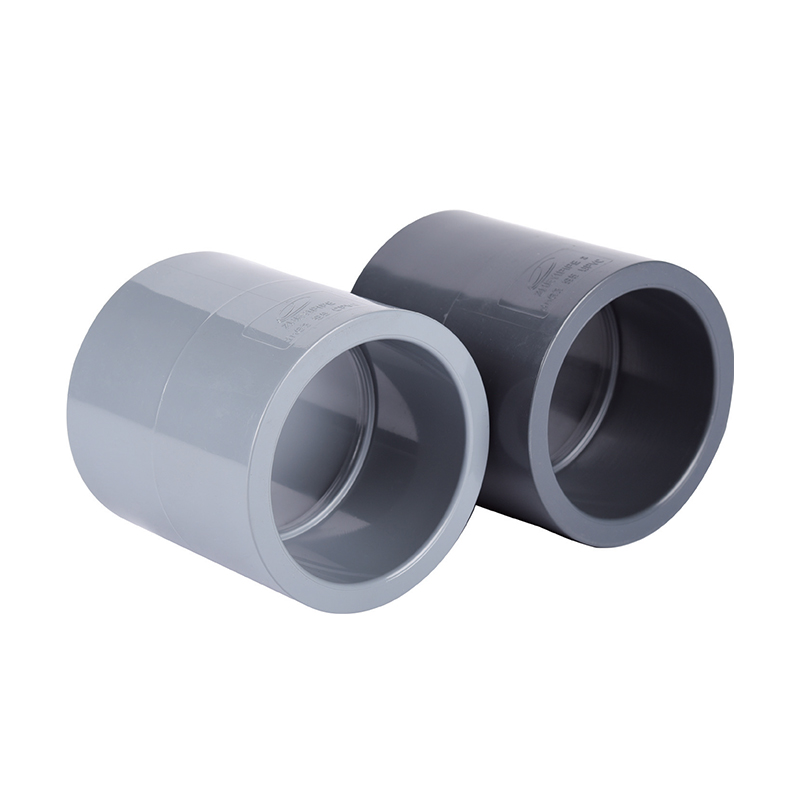 Custom SCH8O/DIN UPVC/CPVC Coupler For Food Industry/Automotive/Electronic SupplZheyi Pipeline (Wuhan) Co., Ltd. Is China Custom SCH8O/DIN UPVC/CPVC Coupler For Food Industry/Automotive/Electronic Suppliers, Factory, ...View Product →
Condition the materials at site temperature
CPVC becomes brittle near and below freezing. If pipe or fittings have been stored outdoors at 5 °C or lower, bring them into the installation area at least 24 hours before assembly. Cold material slows the solvent cement cure and makes the joint more prone to starved areas. Keep cement containers sealed and at room temperature; cold cement is too thick to spread evenly and may not wet the pipe surface properly.
Cutting, Deburring, and Chamfering
Use a ratchet-style shear designed for CPVC or a fine-tooth saw with a mitre box to produce a square cut. The cut end should be within 0.5 mm of square across the outer diameter. Remove all burrs and shavings from the outside and, more importantly, from the inside edge. A rough internal edge creates an irregular path that can channel solvent away from the bond line.
Chamfer the outside edge at an angle of about 15–20 degrees and to a depth of roughly 2–3 mm. This chamfer is not cosmetic; it prevents the pipe edge from scraping the cement off the socket wall during insertion. That scraping action is one of the most common causes of voids in the final joint. After chamfering, wipe both surfaces with a clean, dry cloth to remove dust and moisture.
Dry-fit every joint before applying primer or cement. Mark the insertion depth on the pipe with a pencil, and rotate the fitting to confirm that the final alignment will be comfortable. Never force a tight dry fit, and do not use a hammer or a torch to seat the pipe.
Solvent Cementing Sequence That Builds a Reliable Bond
Use a compatible primer and cement
Only solvent cement formulated for CPVC should be used on Schedule 80 CPVC fittings. PVC cement is not interchangeable; it does not have the same solvent carrier system. A primer approved for CPVC is applied first to soften the pipe surface and remove contamination. Two-step systems, where primer and cement are separate, give installers more control than one-step cement. Check the cement container before use: if the liquid has thickened into a gel or contains lumps, discard it. Fresh solvent carriers are essential for a proper solvent weld.
Apply primer, then cement
Apply primer generously to the outside of the pipe end and to the full inside of the fitting socket. The surfaces should appear soft and tacky within 10–20 seconds. Then apply a layer of CPVC cement roughly 0.5 mm thick to the pipe end, and a thinner coating inside the socket. Push the pipe fully into the socket until it bottoms out, then rotate it a quarter turn. Do not rotate repeatedly; that can churn the cement and introduce air. Hold the joint stationary for 10–15 seconds at room temperature, then carefully wipe away the excess cement bead around the socket rim.
For directional changes, use a CPVC 90-degree elbow with a deep socket rather than bending the pipe with heat or fabricating a mitered corner. Fabricated bends concentrate stress exactly where the solvent-cement joint must maintain its seal.
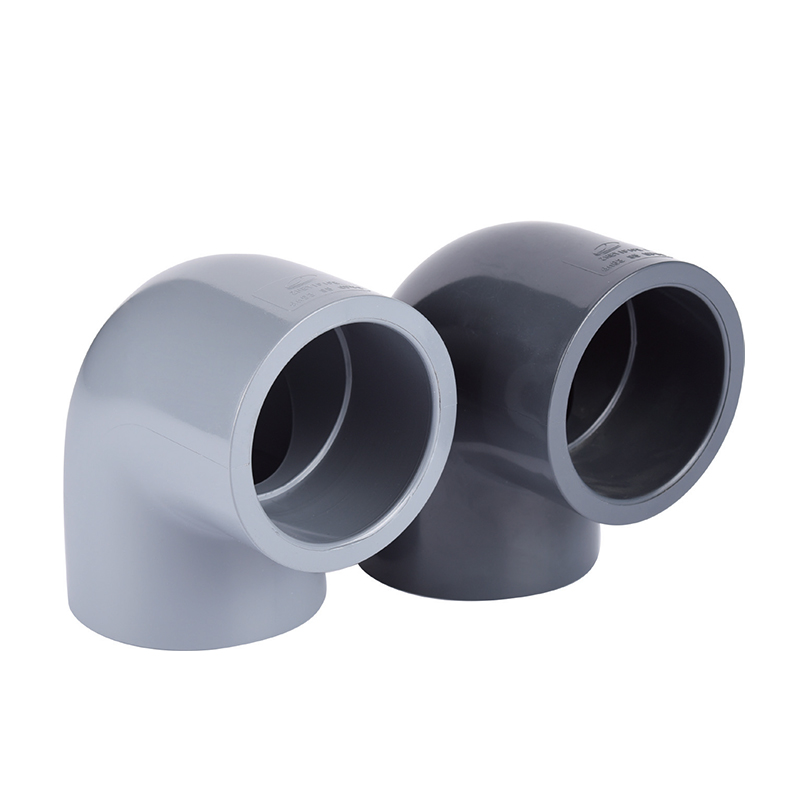 Custom SCH8O/DIN UPVC/CPVC 90° Elbow For Food Industry/Automotive/Electronic SupZheyi Pipeline (Wuhan) Co., Ltd. Is China Custom SCH8O/DIN UPVC/CPVC 90° Elbow For Food Industry/Automotive/Electronic Suppliers, Factory...View Product →
Joining and alignment without introducing stress
Once the joint is set, do not disturb it. The cement begins to gel within 30–60 seconds, and any movement after gelation produces a weak, translucent line that can crack under pressure. For larger-bore or overhead work, hold the fitting with a strapping tool or padded locking pliers for the first minute. On vertical pipe runs, support the pipe from underneath so gravity does not pull the joint partially out of the socket during the setting phase.
Cure Time, Thermal Expansion, and Support Spacing
Cure time before pressurization
Solvent cement joints are mechanically set within minutes, but they gain full strength only after the solvent has evaporated and the softened polymer has re-bonded. The table below gives conservative minimum cure times for Schedule 80 CPVC joints made with a two-step primer and CPVC cement system. Use these times as minimums before applying any test pressure.
Minimum cure times for CPVC solvent-cement joints before pressure testing
| Ambient temperature |
1/2"–1" sockets |
1-1/4"–2" sockets |
2-1/2"–4" sockets |
| 60°F (15°C) |
1 hour |
2 hours |
4 hours |
| 75°F (24°C) |
45 minutes |
1.5 hours |
3 hours |
| 90°F (32°C) |
30 minutes |
1 hour |
2 hours |
These short cure times are not full-cure times. Complete mechanical strength can require 24–48 hours, especially in cooler or humid conditions. Do not bury the line, hang heavy valves, or bolt flanges adjacent to solvent-cement joints until the after-cure period has passed. For a deeper look at how temperature affects joint strength, refer to our guide on CPVC solvent cement cure time.
Thermal expansion and support spacing
CPVC has a linear thermal expansion coefficient of roughly 0.069 mm/m·°C. Over a 30-meter line with a 40 °C temperature swing, the pipe expands about 83 mm. If rigid supports restrict that movement, the resulting stress concentrates at the solvent-cement joints and can cause shear failure. Use expansion loops, U-bends, or natural directional changes to absorb length changes, and fasten the line with hangers that allow axial movement.
Support spacing for Schedule 80 CPVC at 20 °C is typically 1.2 m for 3/4-inch pipe, 1.5 m for 1-inch, 1.8 m for 1-1/2-inch, and 2.1 m for 2-inch. When the fluid temperature stays above 60 °C, reduce that spacing by one-third and add intermediate supports near heavy fittings. Where future maintenance is expected, install a true-union CPVC union so that a valve, meter, or section of pipe can be isolated without cutting the line. This also gives you a second access point for hydrostatic testing.
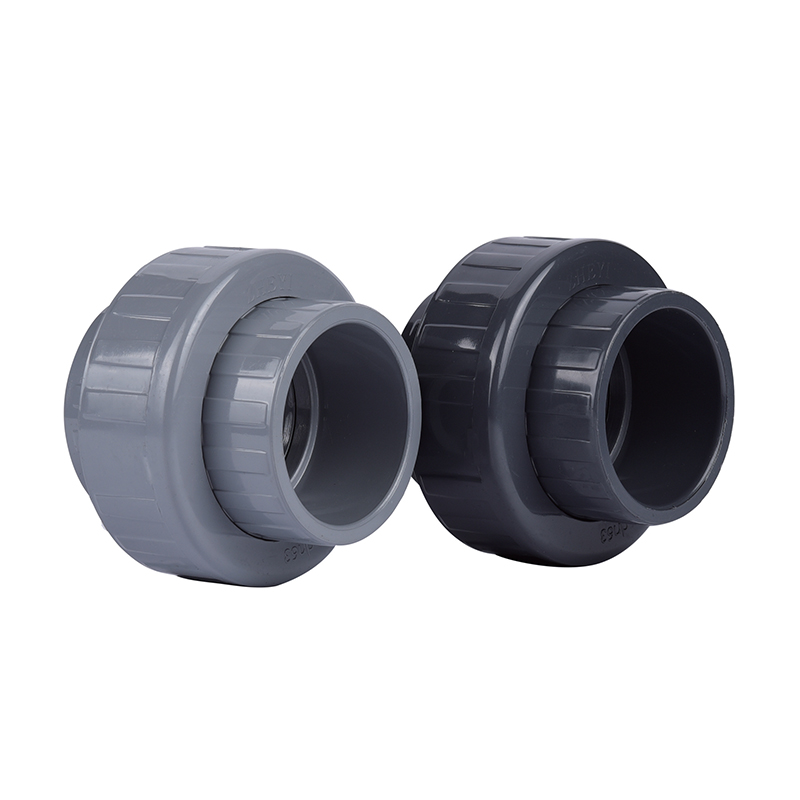 Custom SCH8O/DIN UPVC/CPVC Ⅰ Union For Food Industry/Automotive/Electronic SupplZheyi Pipeline (Wuhan) Co., Ltd. Is China Custom SCH8O/DIN UPVC/CPVC Ⅰ Union For Food Industry/Automotive/Electronic Suppliers, Factory, ...View Product →
Pressure Testing and Common Installation Failures
Hydrostatic testing sequence
Before testing, fill the system with water rather than air, and vent all high points. Air trapped in the line will mask small leaks and cause pressure readings to drift. Pressurize gradually to 150% of the design working pressure and hold for at least 30 minutes. If the pressure drops, bleed the high points again and allow the water temperature to stabilize before assuming there is a leak. A continuous pressure drop that cannot be recovered by bleeding indicates a joint failure.
Inspect each solvent-cement joint after the test. A healthy joint shows a smooth, continuous bead of cement around the socket rim. A joint with a dry area or a porcelain-white crack line inside the socket has likely experienced incomplete bonding. In that case, the joint must be cut out and replaced, not patched with a second layer of cement.
Common causes of leaks and failures
- Skipping primer: primer pre-softens the surfaces and creates the two-sided penetration required for a strong weld.
- Applying cement only to the pipe: the socket wall remains under-coated, leaving a thin bond line.
- Omitting the chamfer: a sharp pipe edge scrapes cement from the socket wall during insertion.
- Moving the joint too early: rotation after gelation breaks the solvent weld and creates a weak path.
- Pressurizing too soon: even if the joint feels hard, the polymer has not reached full integrity.
- Over-torquing threaded adapters: Schedule 80 CPVC sockets can crack when a male adapter is tightened excessively.
These failures are preventable when the installer controls the process. The pressure rating of Schedule 80 CPVC is only meaningful if the joint is made correctly; a starved socket fails at a fraction of the rated pressure. For comparison of how Schedule 40 and Schedule 80 fittings handle pressure at the same temperature, see our article on Schedule 40 vs. Schedule 80 CPVC fitting pressure ratings.
A Reliable Joint Is the Result of Process, Not Guesswork
Schedule 80 CPVC fittings deliver dependable service when the installer controls the variables: accurate sizing, proper surface preparation, correct primer and cement application, and enough time for the joint to cure. Adding a coherent expansion and support strategy during design then makes the same joint hold pressure and resist chemical attack for decades. The difference between a line that starts up cleanly and one that leaks on the first hydrotest is rarely the material grade; it is the discipline of the installation sequence.
When sourcing fittings for a new process line, confirm that the manufacturer provides consistent socket depths and documented dimensional control across batches. The same installation rules apply whether the system is a water treatment pump station or a corrosive chemical transfer loop. For a broader walkthrough of the steps that apply to both UPVC and CPVC systems, you can refer to our general UPVC and CPVC pipe fittings installation guide.
 +86-15258772971
 dinys009@163.com

 English
 한국어
한국어 Español
 عربى
عربى